

The dos and don’ts of honey harvesting
How to take your honey from hive to jar
Honey is the whole point of beekeeping, right? If you’re a new beekeeper, your first honey harvest is pretty exciting – but figuring out the equipment and the process can also be overwhelming.
The good news is, extracting honey is actually surprisingly simple – if a bit messy. Just make sure you’re set up with the right equipment and a suitable space before you start.
Get the gear
You can’t start extracting without the right equipment, so make sure you have everything to hand before you begin.
Here’s our list of basic extraction tools for hobby beekeepers – if you’re running a commercial operation, you’ll need specialist equipment to grade, blend, and package your honey.
The basics:
- Uncapping knife, or hot knife, to scrape the wax from the cells
- Fine mesh strainer to remove dirt and debris from the honey
- Food-safe tanks or buckets to store the honey before it’s jarred
- Tray to catch wax cappings once they’re removed – use a capping tray or a clean baking tray.
- Honey jars – food-safe jars with tight-fitting lids for honey storage. Choose glass or plastic, and buy more than you think you need.
- Measuring jug with spout, to pour honey into jars
- It is possible to extract honey by hand, but an extractor makes it much easier. If you’re not quite ready to invest in your own extractor, you may be able to borrow or rent one from your local bee club.
Find a suitable space
Once you’ve sorted your gear, you need to find a place to do your extraction. Although some beekeepers harvest outside it’s better to find a space inside, away from irritable bees. Your garage, kitchen or basement might work – just make sure it’s clean and you have enough space to spread out. If you don’t have the room, talk to your local Bee Club, as they may have purpose-built extraction rooms available to hire.
Our step-by-step extraction guide
Step one: Check honey stores
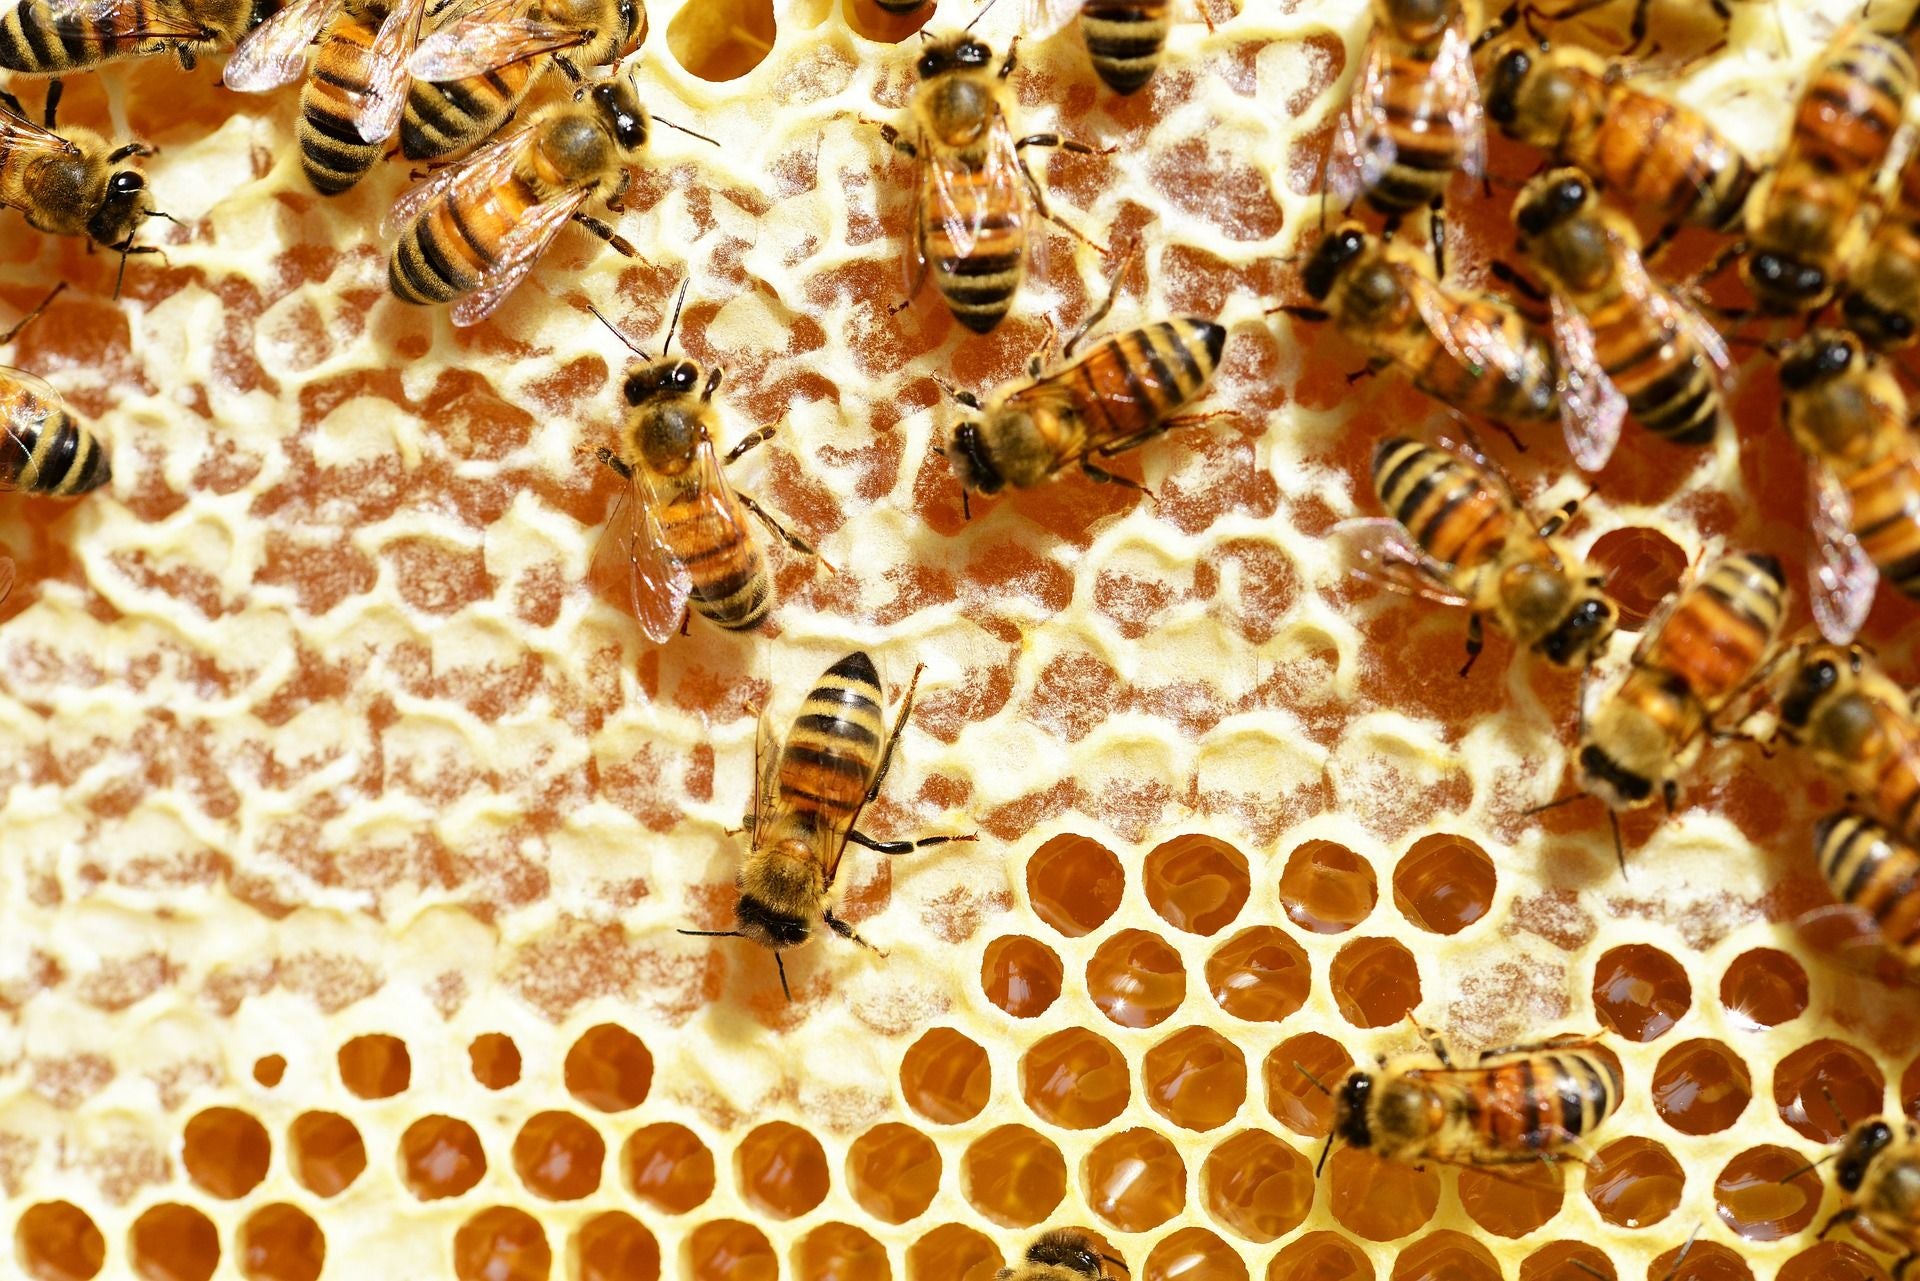
First, check that your honey is ready to harvest. All the frames in your hives should be full, and the honey should be completely covered with a white cap of wax.
Step two: Remove frames
Lift full frames from each hive and lay them on a clean, stable surface. Remember to leave enough stored honey to feed your bees through the winter – most Australian beekeepers leave around eight frames of fully capped honey per hive.
Step three: Set up your space
If you’re using an extractor, set it up in the middle of the room so you can move around it easily. Hook your mesh strainer to the top edge of your collection bucket and place it under the spout of the extractor.
Place your capping trays on a bench or table. Plug in your uncapping knife and make sure to leave it on a stable surface – you don’t want to step on a hot blade in the middle of extraction.
Step four: Removing the wax
When you use an extractor, you need to uncap your frames first. Check the inside of the extractor tank to work out how many frames it holds – some smaller models will only take one frame at a time, while others hold up to 12. Uncap the number of frames you need to fill your extractor, and leave the others capped for now.
Use the heated knife to scrape the white wax cappings from both sides of each frame. Stand over a capping tray, so wax and honey don’t get all over the floor. If you haven’t done it before, it might take a while to get the depth right – go for a lighter touch at first, so you don’t lose too much honey.
Step five: Extraction
Inside the body of your extractor, there should be a sleeve or bracket for frames to fit into. Fill these brackets with scraped frames, then switch the extractor on – or turn the handle if you’re using a manual model.
As the tank of the extractor spins, honey is sucked out of the frames by centrifugal force – it needs to spin very quickly to get all the honey out. From there, honey drips down the sides of the tank, then out through the opening at the bottom.
When you’ve spun your tank for a while, check the visible side of the frame for honey. If you’re satisfied that it’s empty, turn the frame – or frames – around and repeat for the other side.
When the second sides are empty, uncap more frames, refill the extractor, and spin again. Repeat until all your frames are empty.
Step six: Drip and strain
Honey will start to drip down the walls of the extractor as soon as it starts spinning, but it won’t necessarily reach your collection bucket straight away. Eventually, you’ll see the first drops flowing from the tap and into the strainer on top of your collection bucket.
The honey will sit in the strainer for a while at first, then slowly drip through the fine mesh and into your bucket.
Depending on the heat in your extraction room and the number of frames you’re processing, honey can take an hour or more to finish flowing. If you’re dealing with many frames, you may even need a second collection bucket.
Step seven: Filling the jars
While the honey is flowing, sterilise and set up your jars and lids. When it finally stops dripping from the extractor tap, remove the bucket – but replace with a smaller bowl to catch any extra droplets.
Take the strainer off the top of the bucket and set aside, then use your measuring jug to scoop and pour honey into your jars. Start with larger jars, then use the last of the honey to fill any smaller jars. Cap each jar tightly, and label with stickers or a pen. Store your honey harvest in a cool, dark cupboard or pantry until you’re ready to eat it, sell it, or give it away.
Step eight: Storing beeswax
When extraction is finished, you’ll be left with a pile of wax, which can be used to make candles, lip balm, and other useful products. Before using it you'll need to separate the wax from the honey. There are numerous ways to do this, searching google for options would be a good idea. For smaller amount of wax this can be achieved by melting the wax in a pot of hot water on a stove. As the wax melts it floats to the top, separating from the honey. Once all the wax has melted let the water and wax cool down. You'll be let with a nice solid block of beeswax sitting at the top of your pot! One piece of advise....don't use your best pots to do this, beeswax tends to stick very well to cookware! Once you've separated your wax, pop it into clean, lidded container and store for future use.
Step nine: Clean up
Although harvesting honey can get messy, clean-up is pretty straightforward. Honey is water-soluble, so wash out your extractor, trays, and other equipment with hot water and a mild detergent. Wipe down surfaces with hot water and a cleaning cloth.
Ticking the legal boxes
Beekeeping is regulated to prevent the spread of disease between hives, and because honey is a food product. If you’re planning to sell your honey, you’ll need to meet food safety and labelling standards. Even if you’re just harvesting for your own use, there are some rules you need to follow.
In Australia, every state has slightly different rules for beekeepers, so if you’re unsure, check with your local council or state government.
Common requirements:
- Hives must be registered with your local government body.
- Hives must be marked with your registration number, and need to be available for inspection at all times.
- Beekeepers selling honey need to follow labelling guidelines to identify the country of origin.
- Sellers also need to meet food safety requirements when extracting and packaging their product.
Eat, share, sell
Now it’s time to enjoy your honey – and share with others too. Friends and neighbours will appreciate the odd jar, and you could look into selling at local markets or fairs if you have a surplus.
Harvesting honey can be a lengthy process, especially if it’s your first time. But next year it will be easier, and before you know it, you’ll be an old hand.
Need extraction equipment or advice?Talk to the experts at Ecrotek now.