

Alcohol Washing 101: Quick How To Guide & Why It Is Important for Varroa Mites
- Learn how to build your own alcohol wash kit
- Why it is one of the most accurate varroa detection methods
- Step-by-step testing process
- Video tutorial included
Your Reliable Varroa Detection Toolkit
Think of the alcohol wash as your varroa detection toolkit. It's surprisingly simple to set up, incredibly effective, and gives you reliable results every time. While it does sacrifice some bees, it's one of the most accurate methods available – and that accuracy can save your entire colony.
This method works by detaching varroa mites from adult bees using alcohol, allowing you to count them accurately. It's the gold standard for varroa detection and monitoring.
What You'll Need
The beauty of this method is its simplicity. You probably have most of these items already:
- Two identical plastic jars (large peanut butter jars work perfectly)
- 3mm gauze wire mesh
- 100ml of rubbing alcohol (70% concentration)
- Large sheet of newspaper or plastic
- Bee smoker
Building Your Alcohol Wash Kit
Step 1:
Carefully cut and remove the inner section of both screw-top lids.
Step 2:
Cut your wire mesh to fit between the lids, then heat-weld the lids together with the mesh sandwiched between them.
Step 3:
Attach both jars to create your double-chamber system.
How to Perform the Test
Prepare Your Workspace:
Lay newspaper beside your hive and light your smoker.
Collect Your Sample:
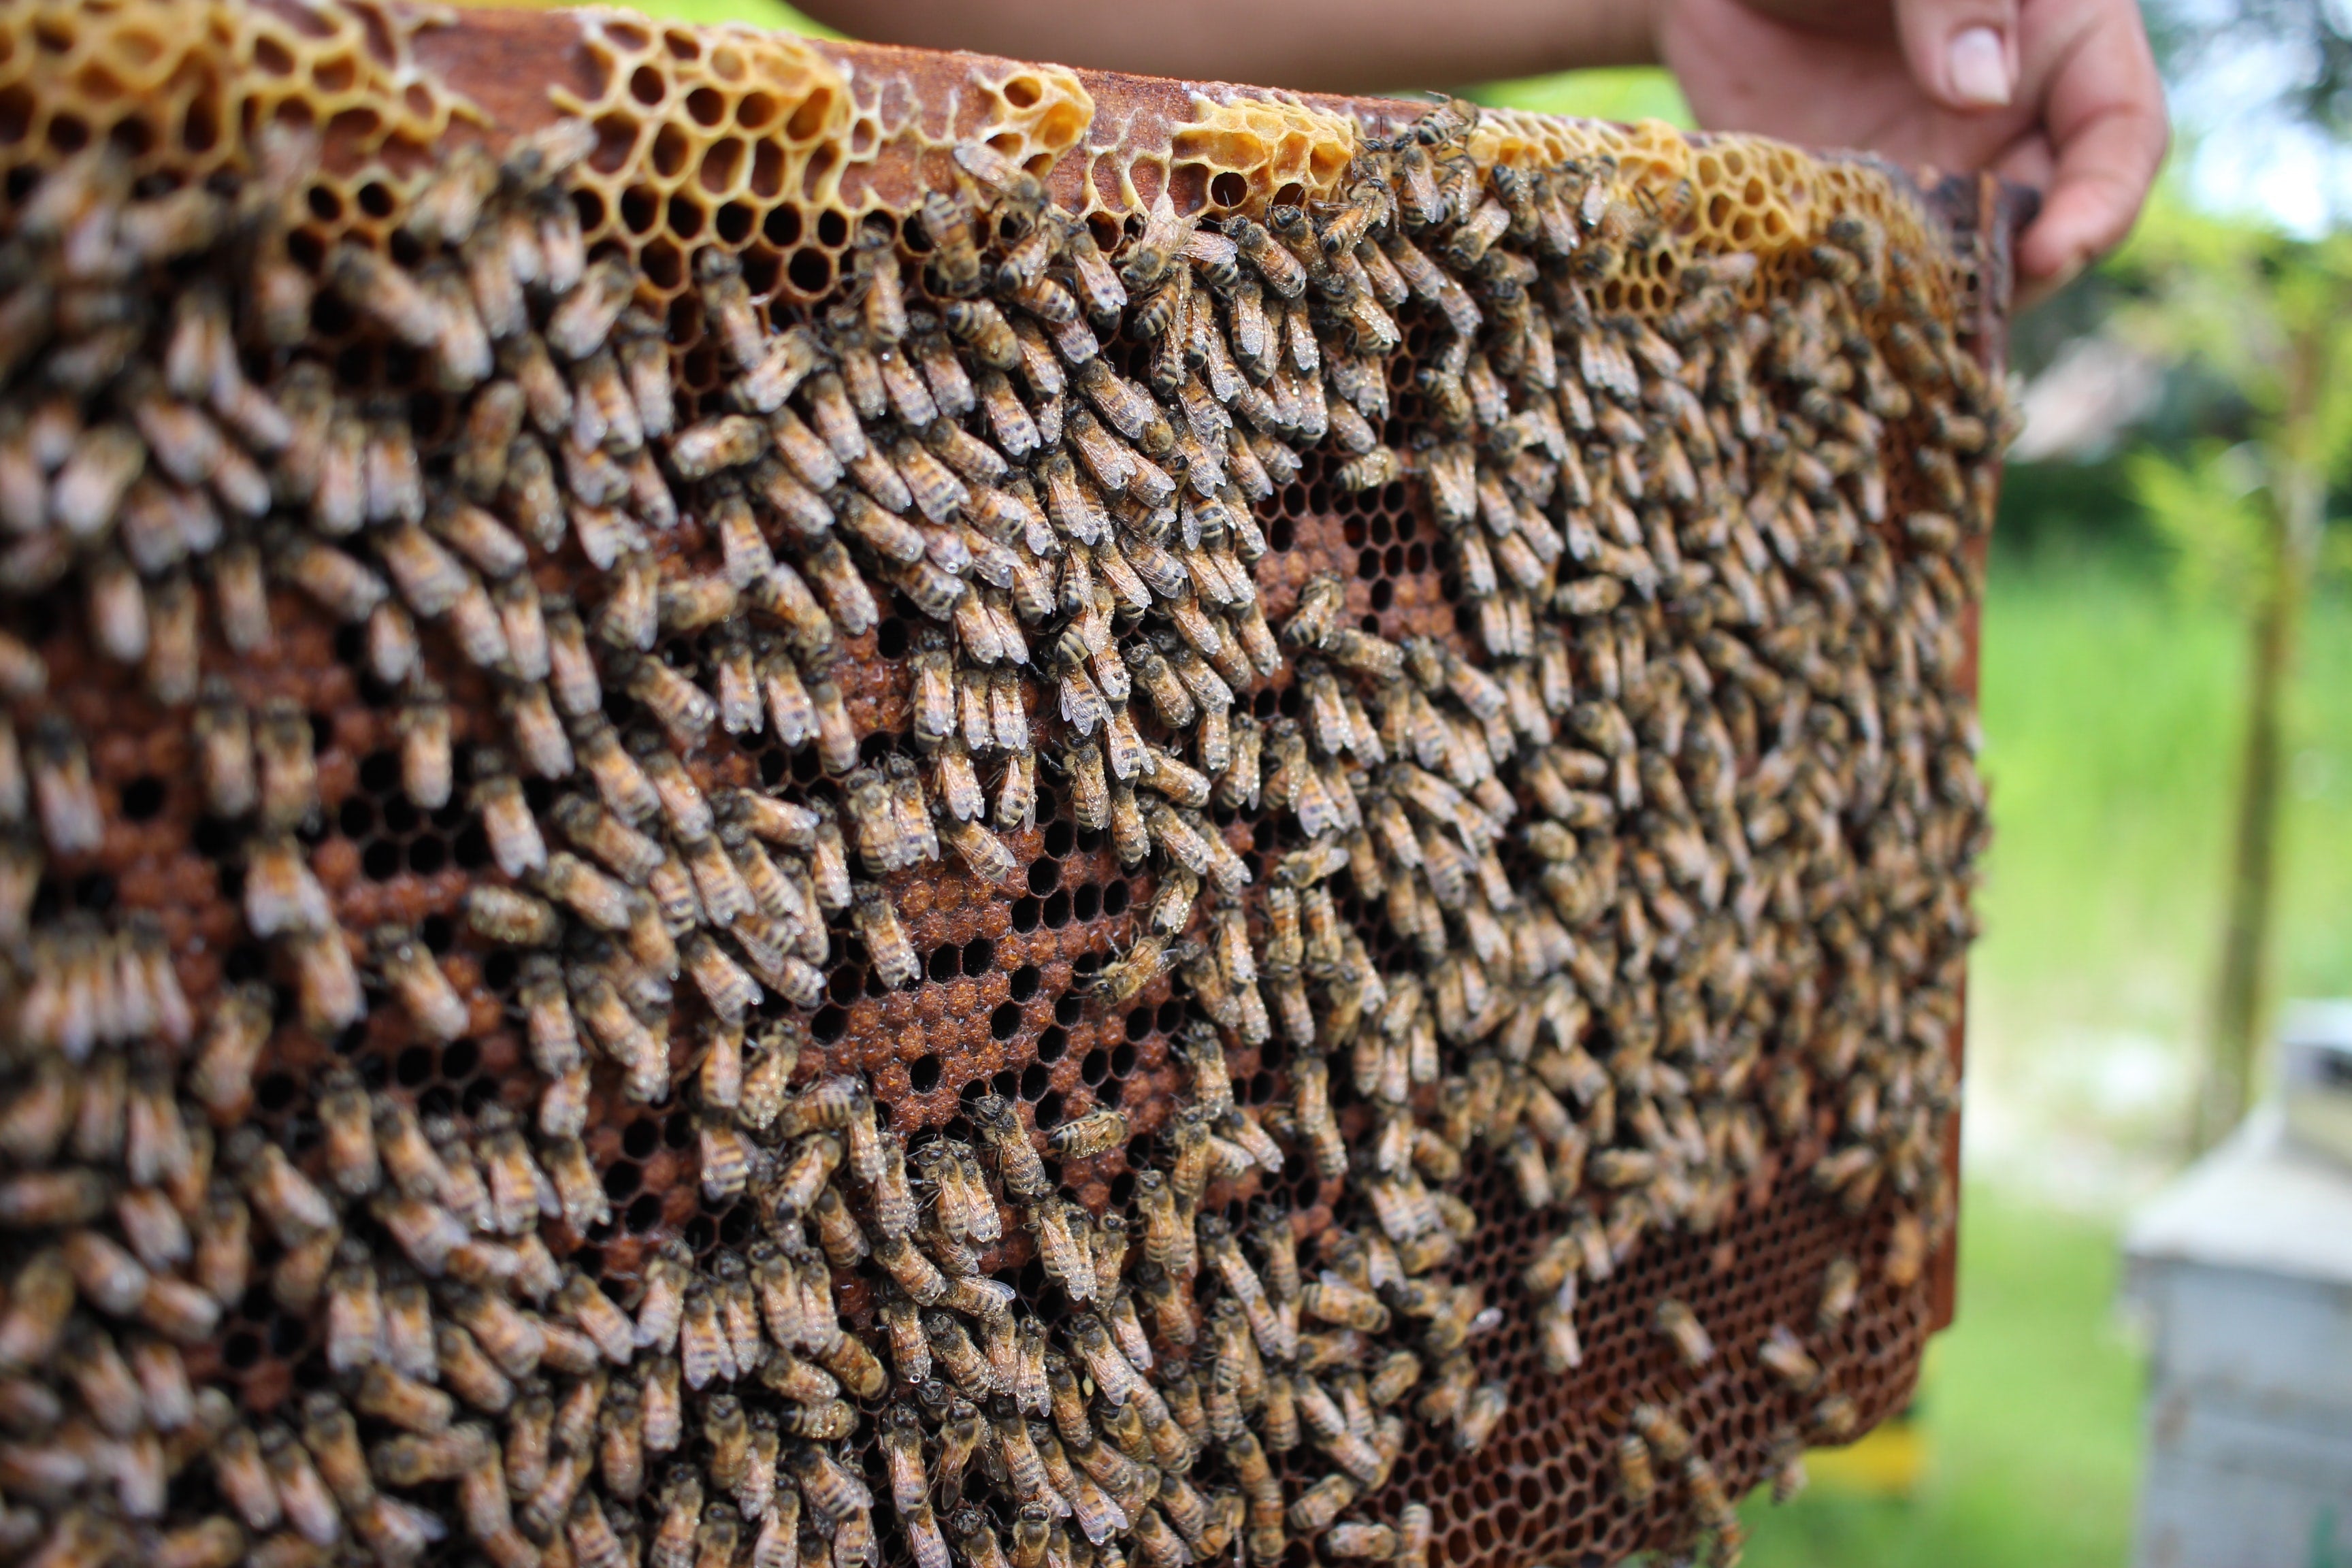
Choose a frame with lots of brood (but check carefully – no queen!). Shake approximately 1/2 cup of bees into the jar with alcohol.
The Wash Process:
Cover immediately and shake vigorously for 20 seconds. Make sure every bee is covered in alcohol.
Separation:
Invert the jar so bees are in the top chamber, then shake to drain alcohol through the mesh. Any varroa mites will fall through with the alcohol.
Examination:
Look for small brown specks in the bottom jar – these are your varroa mites.
Reading Your Results
Here's what your results mean:
- No mites: Great news, but keep monitoring
- 1-2 mites: Low infestation, monitor closely
- 3+ mites: Time for treatment
Remember: this test only shows phoretic mites (those on adult bees). Most varroa are actually in the brood cells, so even small numbers indicate a larger population.
Summary of Key Takeaways
- Alcohol wash is the gold standard for varroa detection
- Simple kit construction using common materials
- Accurate quantitative results for treatment decisions
- Best used when brood levels are low for maximum effectiveness
Important: If You Find Varroa Mites
If you see varroa, use the online form at www.dpi.nsw.gov.au/hives, send an email to hive.location@emergency.dpi.nsw.gov.au or call the Exotic Plant Pest Hotline on 1800 084 881
Ready to Protect Your Hives?

Ecrotek Australia provides the tools and expertise you need for effective varroa management. From detection kits to treatment options, we're here to help you keep your colonies healthy and productive.
Shop Varroa TreatmentsOr contact our teamtoday for personalised advice on varroa management solutions for your beekeeping operation.
[ARTICLE_TITLE]
[ARTICLE_EXCERPT]